How to Make Homemade Soft Pretzels – Fill your home with the heavenly aroma of freshly baked bread as you whip up this simple, yet unbelievably fun and delicious snack!
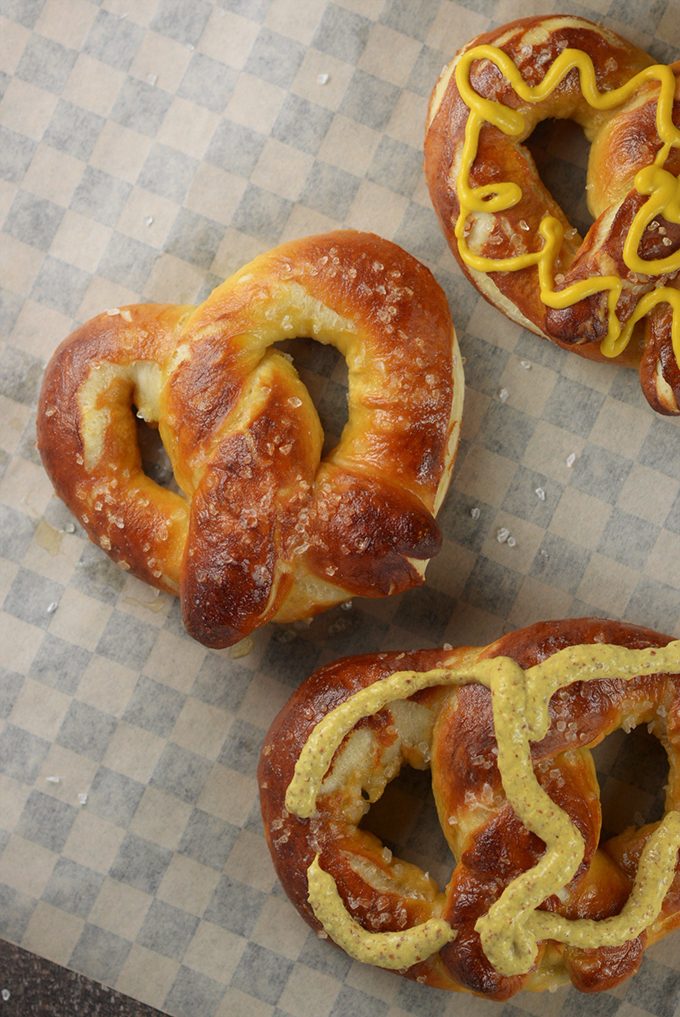
When I was a kid I would go with my family for jaunts into the city to places like The Franklin Institute, the Liberty Bell, and the Philadelphia Zoo. Family outings are always a great time for parents to impart important wisdom on their kids. Every time my Dad came along he took his parenting responsibilities very seriously. I would get a lesson on soft pretzel eating safety, because clearly, that’s something every parent needs to teach and then re-teach their child.
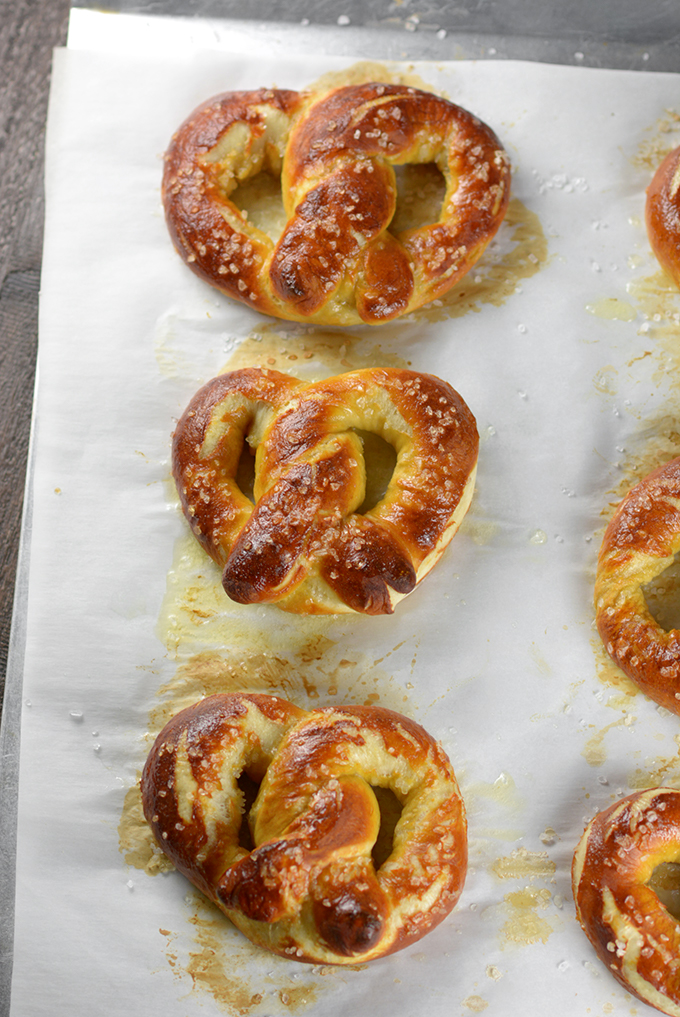

According to my Dad, pretzels sold from food trucks were good for eating because the proprietors could wash their hands in the truck after peeing in an ally. On the other hand, soft pretzels sold from bicycles were to be avoided at all costs (for obvious reasons). Back when I was a kid, people would mill around heavily trafficked areas like the zoo, sports stadiums, and even street corners with Philly-style soft pretzels suspended from wooden poles or stacked inside a repurposed milk create attached to their bikes. They were like doughy nets catching all the dust and grime of the Philly streets that you could buy for just a buck. Of course, this didn’t keep us kids from asking for one, and my dad would respond in his Philly accent saying, “Are youse guys crazy? Fuhgeddaboutit!”
I’m happy to say that I haven’t seen pretzels sold from bicycles in a while, but I have seen them sold from shopping carts. And thankfully, over the years, wearing gloves has become a more common practice of vendors… Needless to say, soft pretzels are as important to Philly as the ubiquitous cheesesteak.
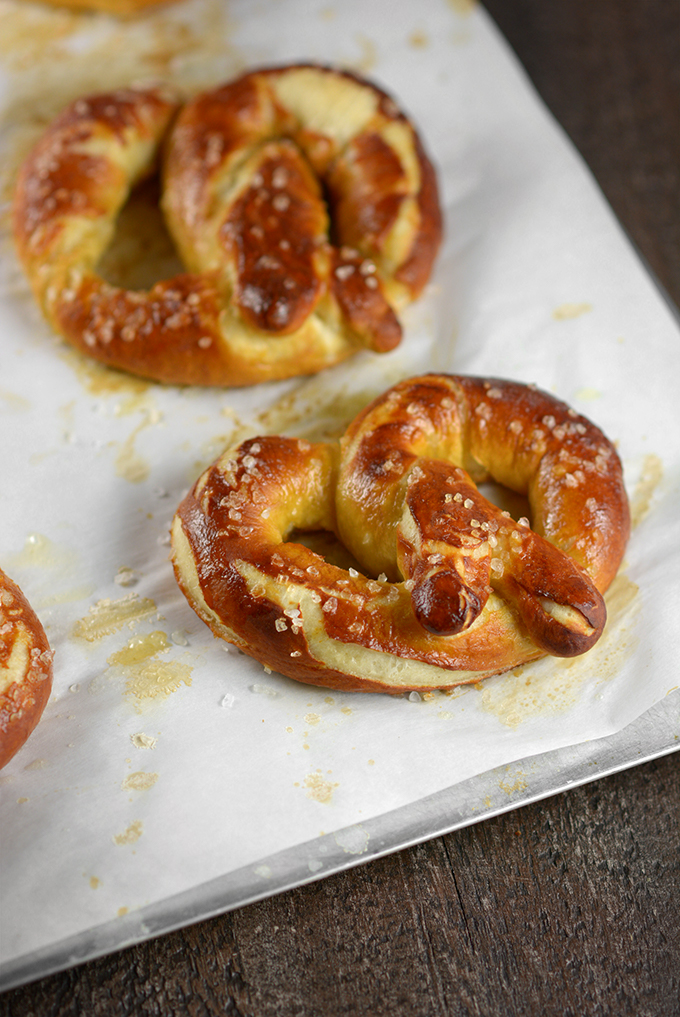
I’m fairly certain that as a Philadelphia native, soft pretzels are a more important presence in my life than they are for the average American. I work at a hospital and they’re a common gift of appreciation to the nursing staff that’s appreciated multiple times a week. They also often show up at meetings and parties. And just a mile or so from my house there’s a shop dedicated just to Philly-style soft pretzels, where you can buy them by the boxful. Really, it’s hard to go a whole week without taking at least one bite of a soft pretzel.
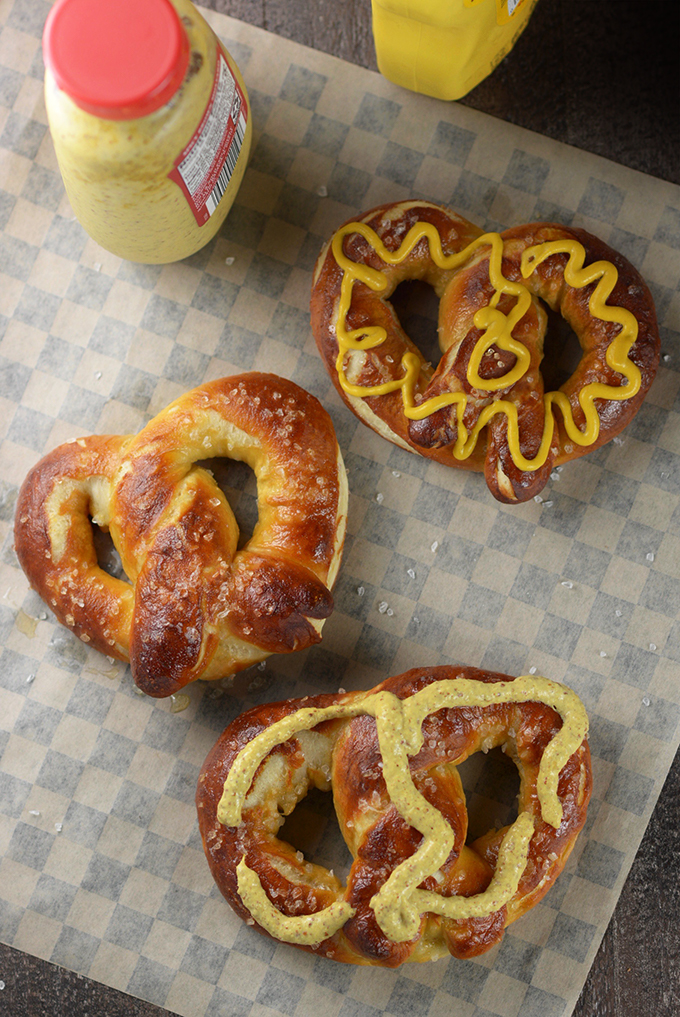
Even with the abundant supply of soft pretzels for sale, my absolute favorite is my own homemade soft pretzels that fill my home with the smell of freshly baked bread. With it being Octoberfest time and all, there’s no better time than now to share this recipe on the blog. During a pandemic, a pack of German beer and some homemade soft pretzels make a delicious and safe October night in!
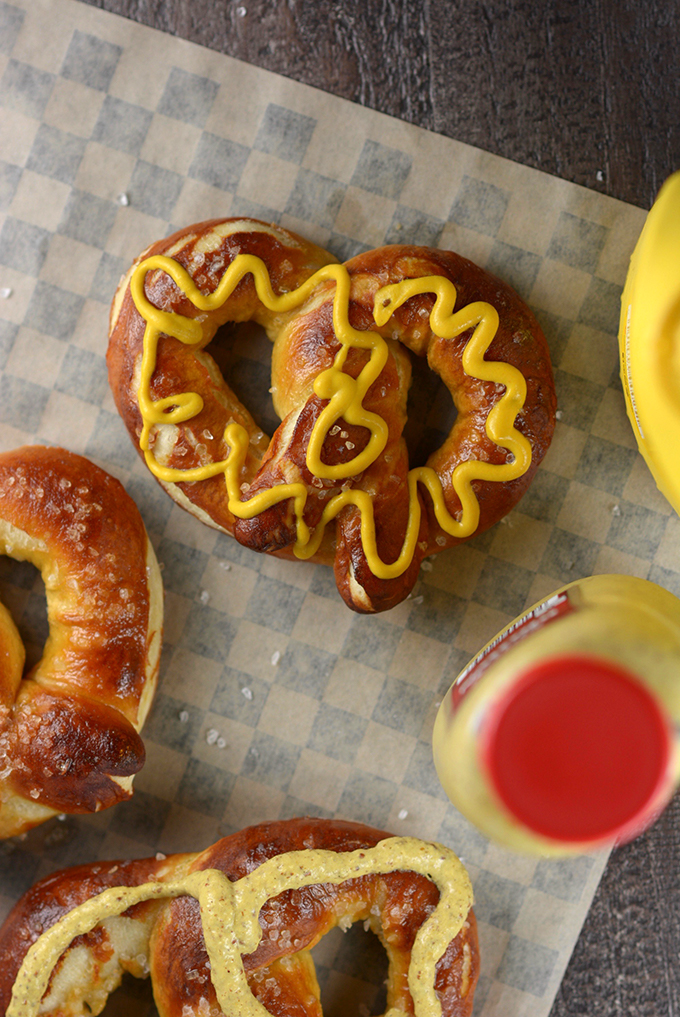
Admittedly, my soft pretzels diverge a little from the traditional Philly soft pretzel. Philly pretzels are generally dense and chewy while maintaining simplicity by only being seasoned with salt. My pretzels have that same dense, bread-like quality, but being a food blogger I can’t help but make a few changes. I like adding a little brown sugar to the dough and I like gently bushing my cooked pretzels with salted butter. My recipe takes the good parts of an Auntie Anne’s pretzel and applies it to a Philly pretzel while still maintaining the soul of the Philly pretzel. They’re delicious!
I encourage you to make these and share them with a younger person in your life. Just be sure to warn them – never eat a soft pretzel sold from a bicycle!
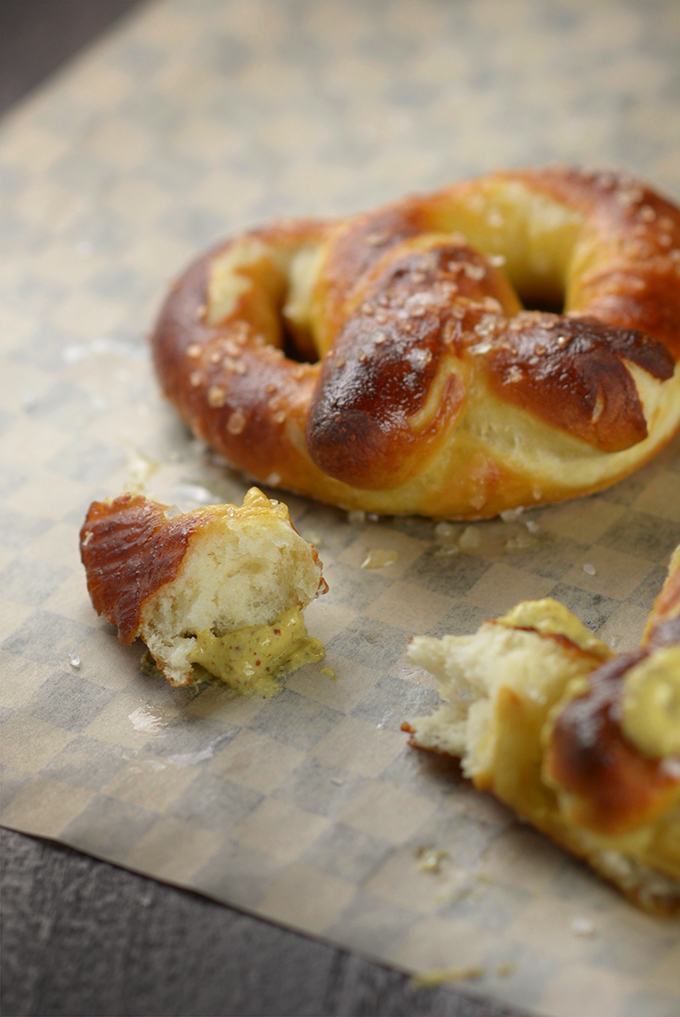
How to Make Soft Pretzels
For being such a simple food, soft pretzels are actually a moderately challenging food to make. I hope these directions with photos will help you to be a successful baker!
- Mix the yeast into the warmed milk and water. Allow it to sit for one minute to activate the yeast.
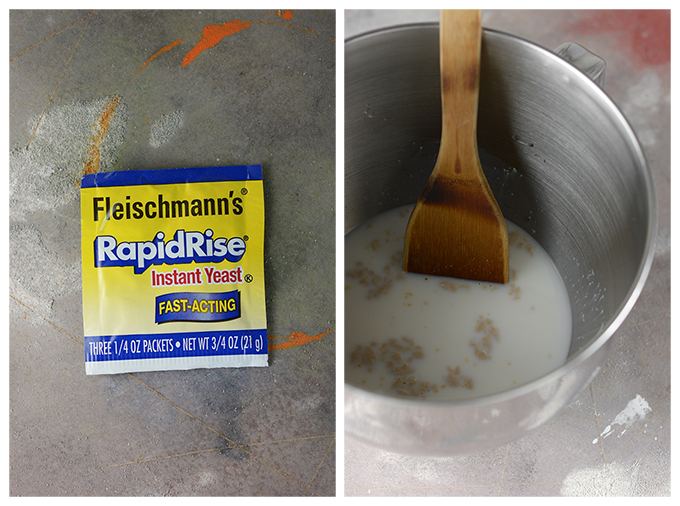
2. Whisk in the light brown sugar, salt, and melted butter.
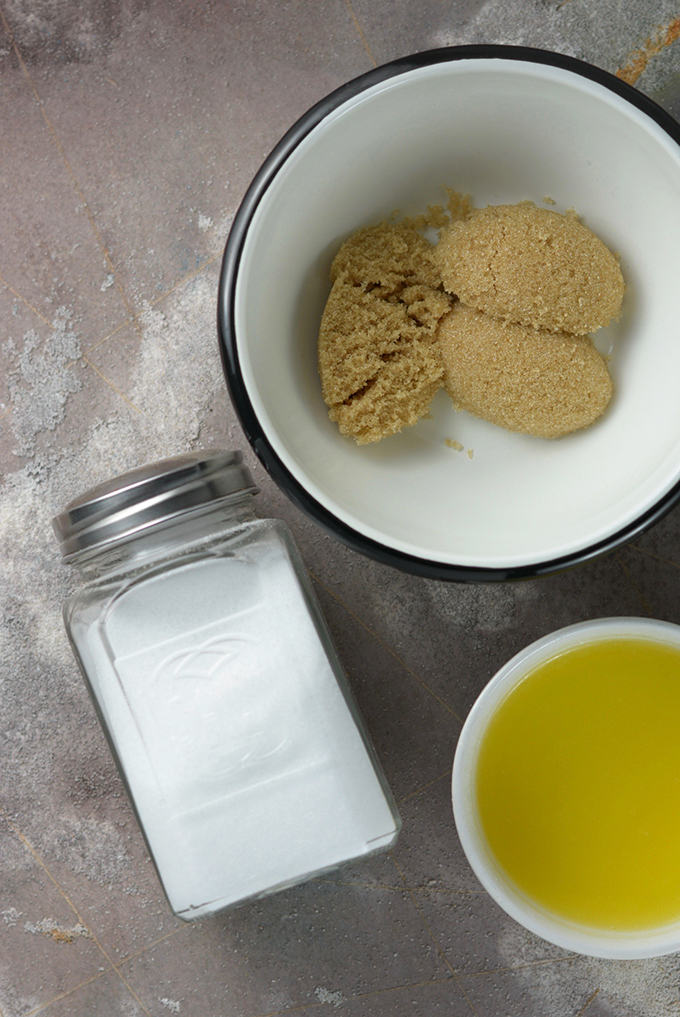
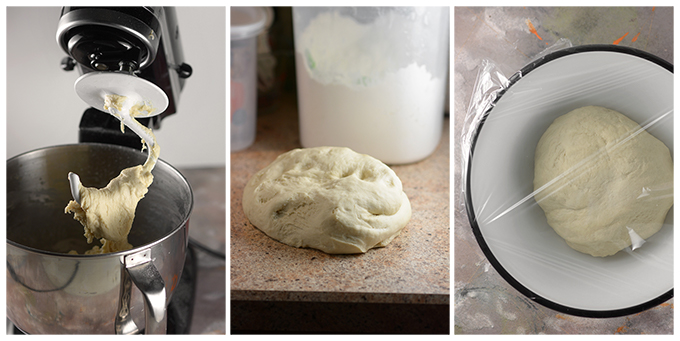
3. Incorporate the flour using a wooden spoon or a standing mixer with the dough hook attachment. Do this by slowly adding 4 C of flour, 1 C at a time. Add a 5th cup of flour until the dough reaches its desired consistency. That is, when it is no longer sticky, and when it bounces back when you poke your finger into it. Note: you may not need to use the entire 5th cup of flour.
4. Flour a clean, flat surface for kneading the dough. Knead for 3 minutes. If the dough is sticking to your surface or fingers, add a sprinkle of flour as needed. Once kneaded, shape the dough into a ball, cover lightly with a clean kitchen towel, and allow the dough to rise for 10 minutes.
5. While the dough is rising, preheat your oven to 400ºF and line 2 baking sheets with parchment paper.
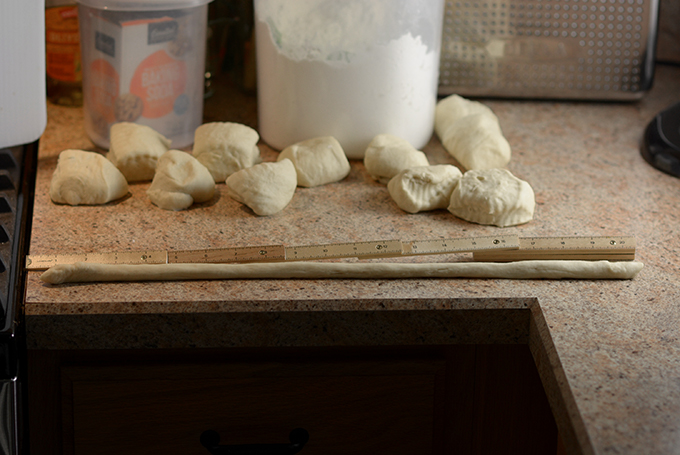
6. After 10 minutes have elapsed form the pretzels. Cut the dough into 12 equal pieces. Next roll into an approximately 20 inch snake. Take the ends and twist them together and bring them to the bottom of the loop that they form and press them in to form a pretzel shape.
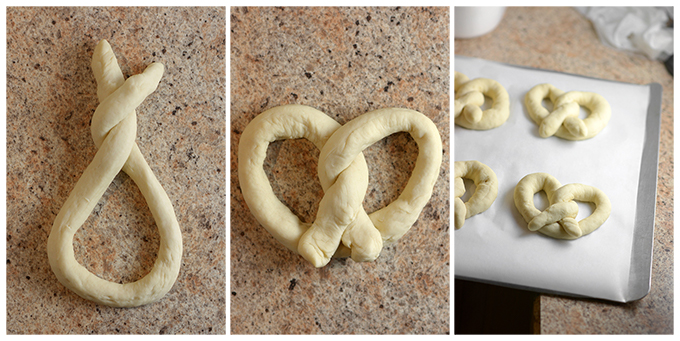
7. Placed the formed pretzels onto a lined baking sheet and allow them to rise for another 10 minutes. While they are rising, place the baking soda and water in a pot and bring to a boil.
8. By this point the pot of water and baking soda should be boiling. At one time drop 1 or 2 large pretzels or a handful of bites into the boiling water. Boil for approximately 20 seconds. Take care the boiling much longer will ruin the flavor, so then quickly remove from the pot and arrange on a baking sheet, about an inch apart.
9. Sprinkle coarse sea salt onto each pretzel. If you are planning on making cinnamon sugar pretzels then hold the salt.
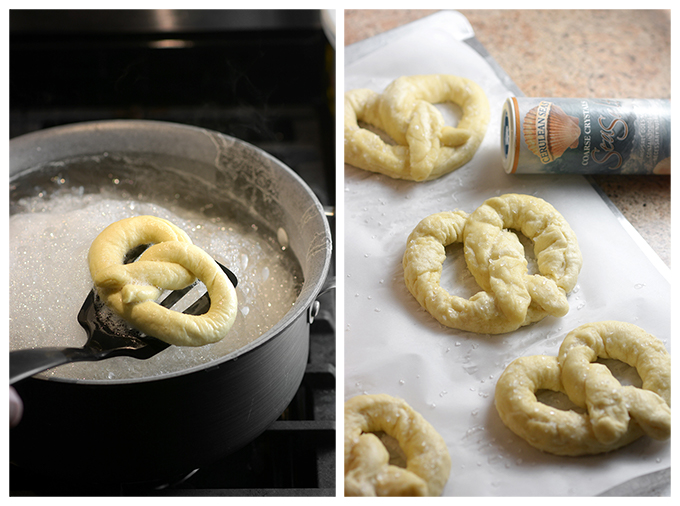
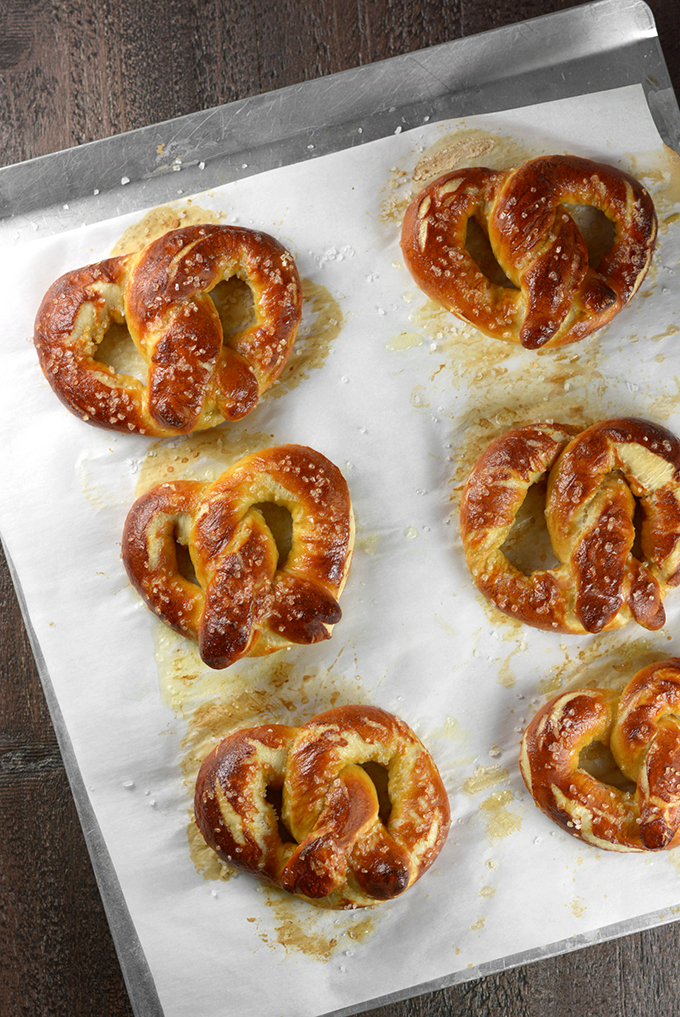
10. Bake in a 400º F oven for 12-15 minutes. The pretzels are done when they are golden brown.
11. Remove from the oven and lightly brush with butter.

Homemade Soft Pretzels
Fill your home with the heavenly aroma of freshly baked bread as you whip up this simple, yet unbelievably fun and delicious snack!
Ingredients
Pretzel Dough
- 1 C warm milk*
- 1/2 C warm water
- 2 1/4 tsp (1 packet) instant yeast
- 3 Tbsp light brown sugar
- 1 tsp salt
- 2 Tbsp butter, melted, but not hot
- 4 - 5 C flour
- coarse sea salt, for topping
- 4 Tbsp melt butter, for topping
- more flour for dusting kneading surface
Baking Soda Bath
- 1/2 C baking soda
- 9 C water
Optional
- 4 Tbsp salt butter, melted
Instructions
- Mix the yeast into the warmed milk and water. Allow it to sit for one minute to activate the yeast.
- Whisk in the light brown sugar, salt, and melted butter.
- Incorporate the flour using a wooden spoon or a standing mixer with the dough hook attachment. Do this my slowly adding 4 C of flour, 1 C at a time. Slowly add a 5th cup of flour until the dough reaches its desired consistency and then stop. That is , when it is no longer sticky, and when it bounces back when you poke your finger into it. Note: that you may not need to use the entire 5th cup of flour.
- Flour a clean, flat surface for kneading the dough. Knead for 3 minutes. If the dough is sticking to your surface or fingers add a sprinkle of flour as need. Once kneaded, shape the dough into a ball, cover lightly with a clean kitchen towel, and allow the dough to rise for 10 minutes.
- While the dough is rising preheat your oven to 400ºF and line 2 baking sheets with parchment paper.
- After 10 minutes have elapsed form the pretzels. Cut the dough into 12 equal pieces. Next roll into an approximately 20 inch snake. Take the ends and twist them together and bring them to the bottom of the loop that they form and press them in to form a pretzel shape.
- Placed the formed pretzels onto a lined baking sheet and allow them to rise for another 10 minutes. While they are rising place the baking soda and water in a pot and bring to a boil.
- By this point the pot of water and baking soda should be boiling. At one time drop 1 or 2 large pretzels or a handful of bites into the boiling water. Boil for approximately 20 seconds. Take care the boiling much longer will ruin the flavor, so then quickly remove from the pot a arrange on a baking sheet about an inch apart.
- Sprinkle coarse sea salt onto each pretzel.
- Bake in a 400º F oven for 12-15 minutes. The pretzels are done once they are golden brown.
- Remove from the oven and lightly brush with butter.
Notes
*Be sure not to over heat milk. It should be warm, but not hot.
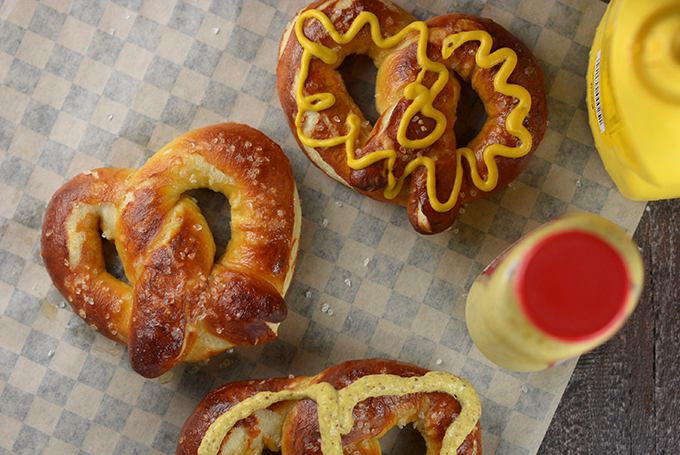
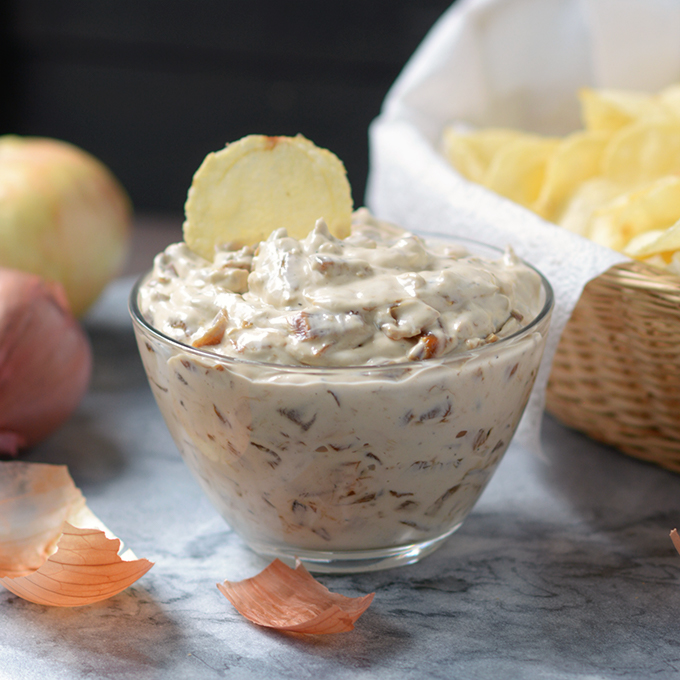
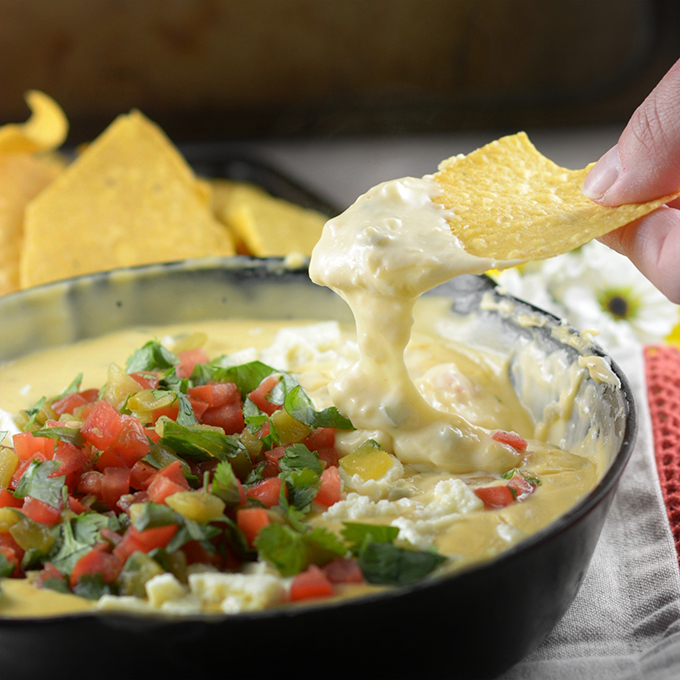
Things that pair great with soft pretzels…





Leave a Reply