Play Kitchen Upcycled Spice Jars – Give your empty spice jars a new life with this fun craft for kids that will encourage conservation and imaginative play!
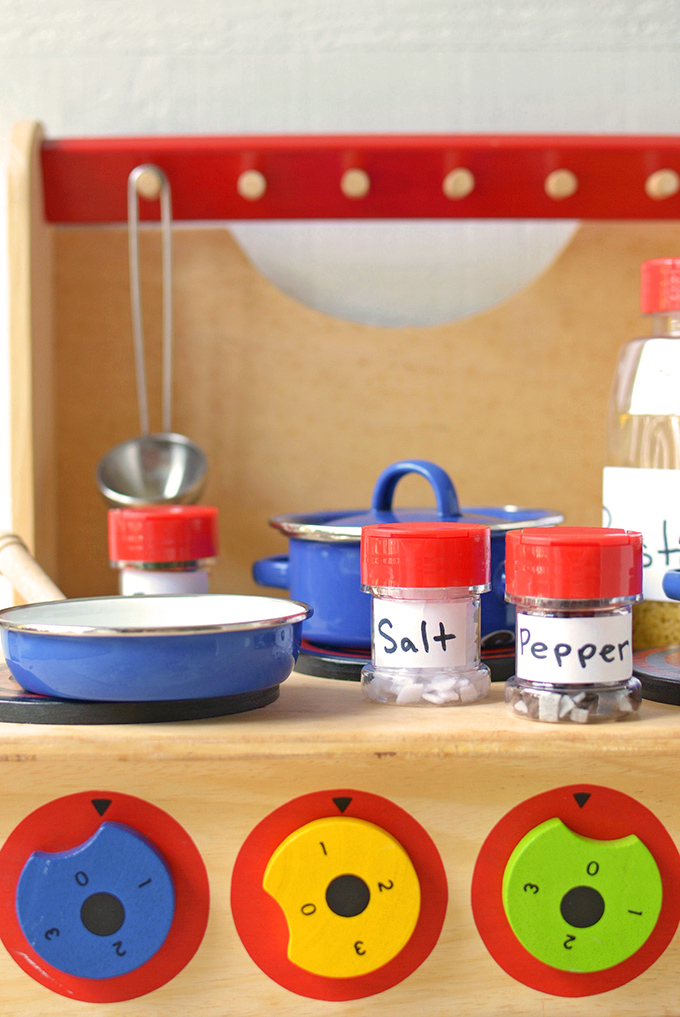
Up until a couple of days ago we had been enjoying glorious, sunny, spring days. As I mentioned in my recent recipe for Sheet Pan Lemon Pepper Salmon, my family has migrated outdoors for days spent swinging high on the playground and for evenings spent running through the fresh, new grass with giggly neighborhood kids. To the disappointment of my six-year-old, however, the grass has spent much of the last few days being watered by spring rain. As he stares longingly out the window at the wet neighborhood playground, I’ve had the challenge of keeping my naturally-rambunctious little guy amused with constructive play.
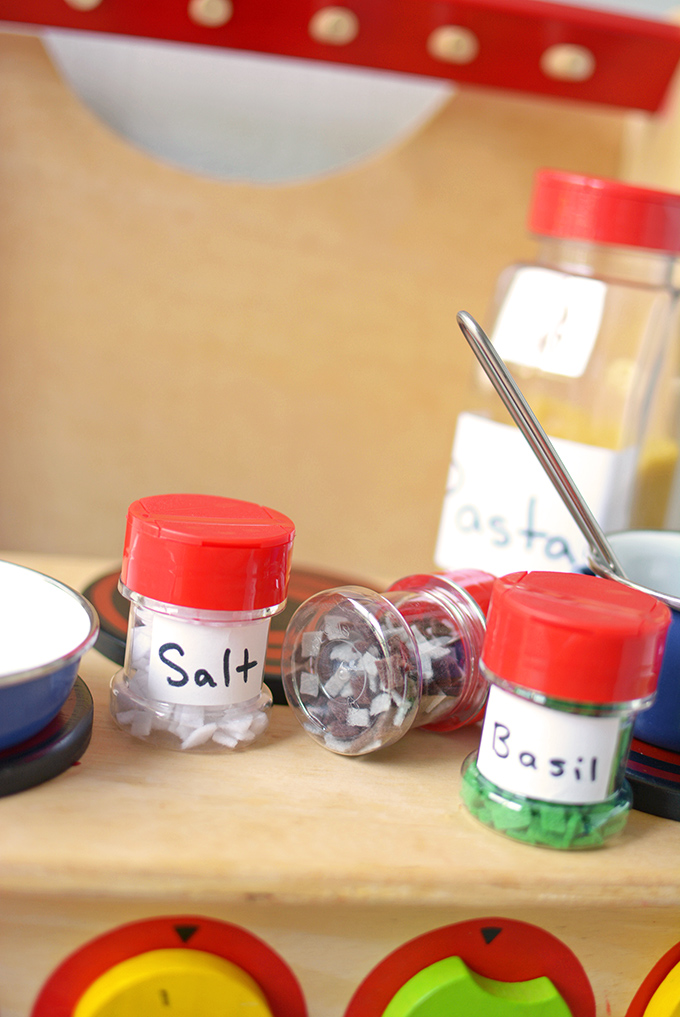
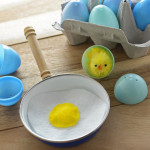
This time last year I made a craft with him that turned old, plastic Easter eggs into “crackable” eggs for his play kitchen. He had a blast with them and with Earth Day just a few days past, I had the idea of creating some new upcycled play kitchen amusement with this craft: Play Kitchen Upcycled Spice Jars. This craft was partly inspired by a friend who lets her kids play with old, empty spice jars. One time when we went over to her house for a play date, the kids spent an entire morning playing with what we adults would consider trash!
This craft takes my friend’s idea a step further and it’s so easy to make. I was able to get my kid involved with some of the fun of making them, too! Check out the directions below…
Supplies:
- old spice jars that have been cleaned and dried
- dry, shelf-stable pantry items that won’t easily break (split peas, lentils, dry beans, small pasta, etc.)
- scraps of craft felt or foam
- sharp scissors
- Gorilla Glue
- office labels
- black marker
Directions:
- Clean and dry some old spice jars, removing the labels in the process. Feel free to use various shapes and sizes.
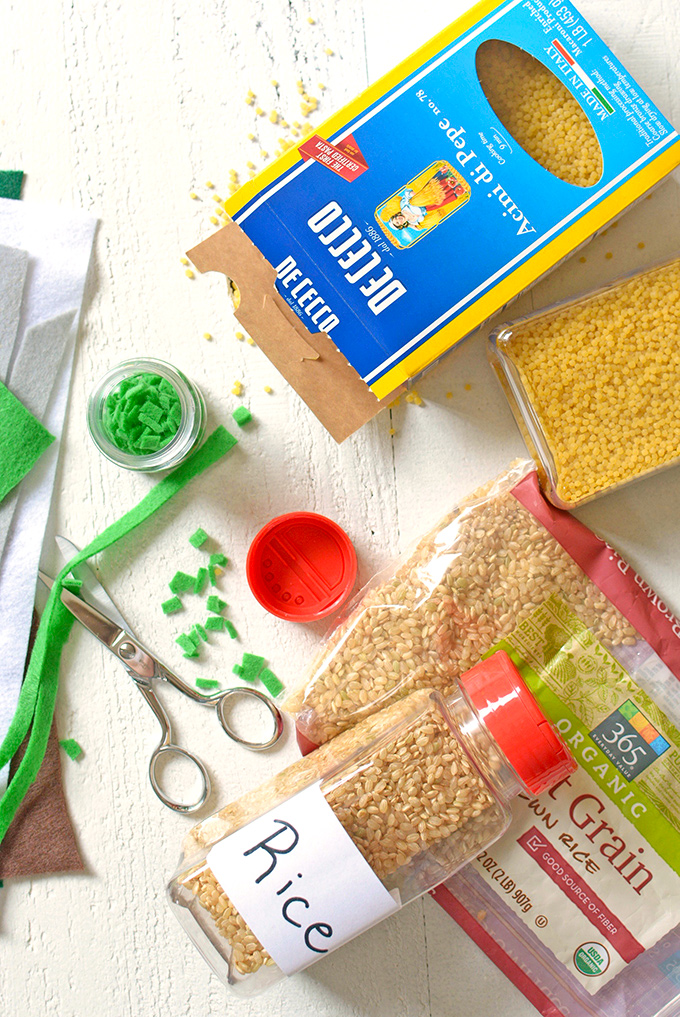
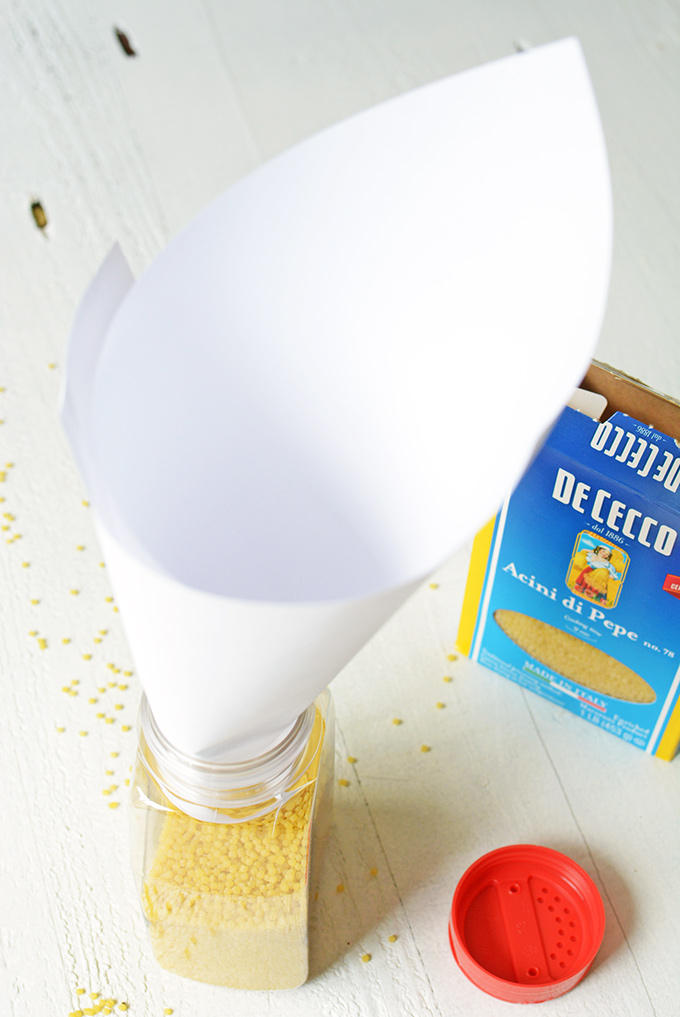
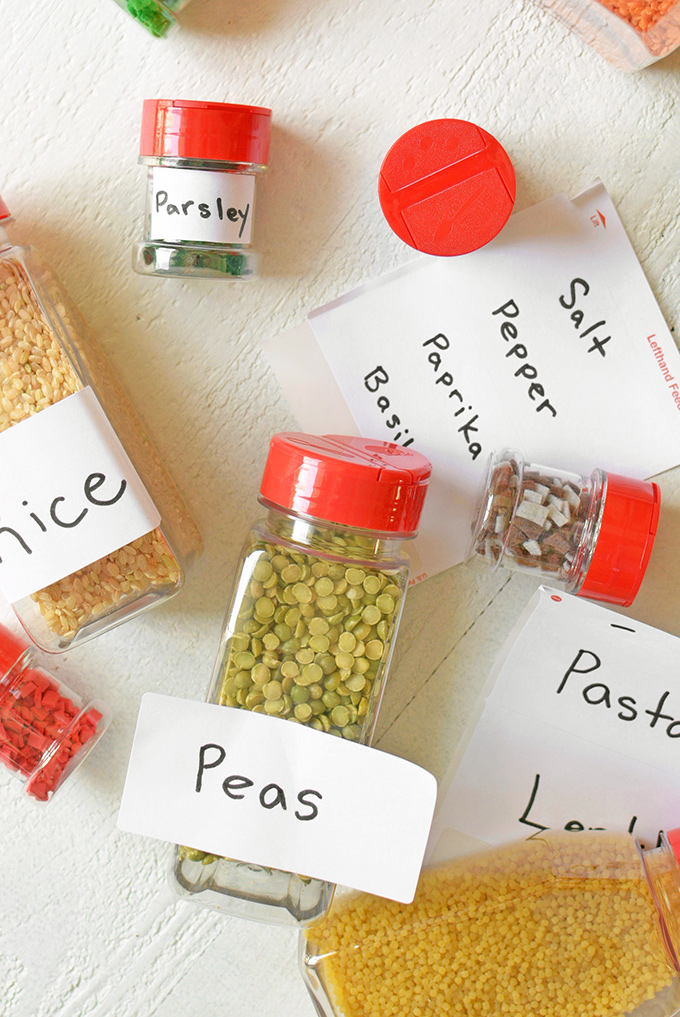
- Decide what you want to fill your jars with and what pantry items you want them to represent. For example, the real pantry items I selected were Acini di Pepe pasta (which is tiny and won’t break), split peas, red lentils, and brown rice. I also wanted to make some toy spices, which I cut from like-colored scraps of felt. Add the items you selected to the clean, used spice jars. This part is great for involving kids. They can cut felt and fill the jars. To make filling easier for little hands, roll a pice of printer paper into a cone shape.
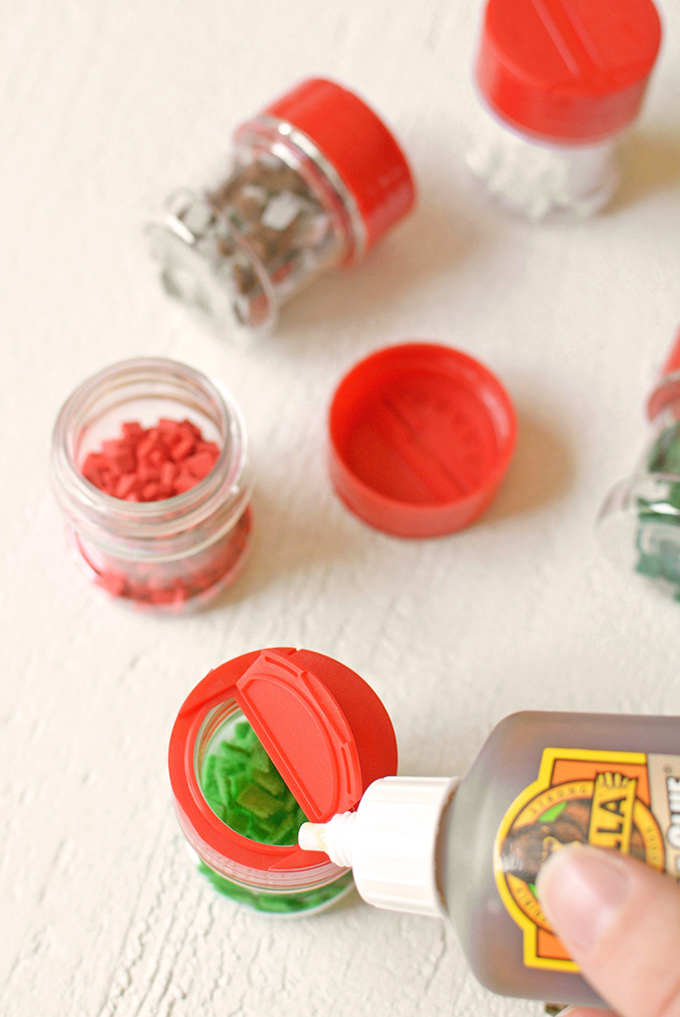
3. The next step involves Gorilla glue. This stuff is seriously effective, so when it sets you’re little ones won’t have much of a chance of getting into their play food. I thus also recommend that a grown-up does this step. Glue the lid in place by applying glue to the rim of the bottle and screwing it on tight, being careful not to use too much glue. Also, glue the flip tops of the spice jar lids down. For the jars that don’t contain real food, you can leave the side with the small holes unglued, as this is fun for kids to open and close. Allow the glue to cure for 1 hour before moving on to the next step. It’s best to allow the glue to cure for 24 hours before letting small children play with this craft.
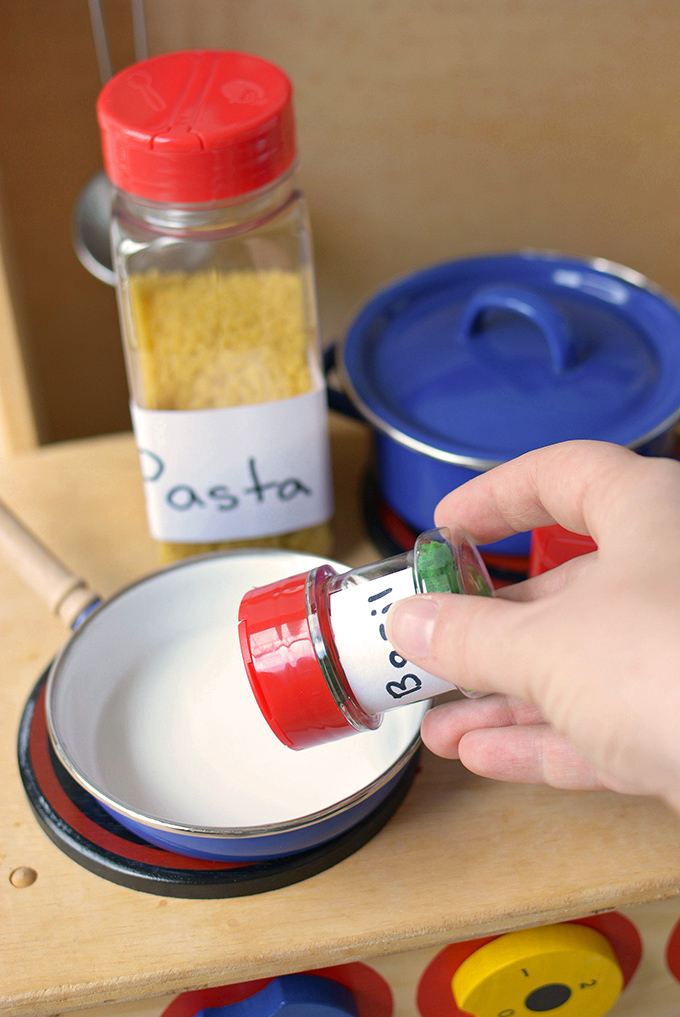
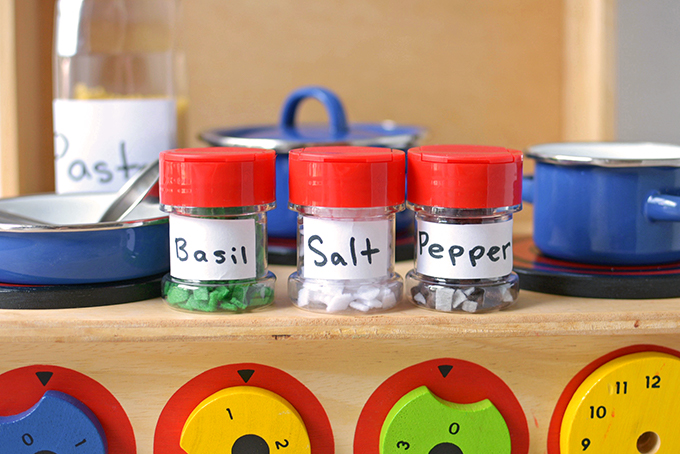
4. For the final step, make labels for the jars using office labels. This is a great step for involving kids with. If they’re older they can write the labels themselves, or consider lightly writing dotted lines for your preschooler to trace. Your kids might also enjoy decorating the labels. Once the labels are done, there’s nothing left to do other than for your kids to get cooking!




Leave a Reply