Old Fashioned Cream Cheese Mints (Wedding Mints) – Packed full of minty flavor, these happy little pastel-colored morsels are as simple and easy to make as they are to eat!
My love for cooking goes back to when I got my glorious yellow and green Little Tikes toy kitchen with wood paneling accents and a corded telephone. At some point I tired of plastic food and I’d sneak real food to prepare in my kitchen. One time I remember not being able to get my hands on any ingredients, so I had the terrible idea of running a bottle of cheap perfume through the coffee maker. Sorry about that, mom!
Eventually I was allowed into a real kitchen. One of my earliest real cooking memories was at a friend’s house where we made delightful bite sized pastel mints. They were so good that I remember popping one in my mouth and the flavor memory of that creamy mint melting away on my tongue has stuck with me 30 years later. The outside of the mints have a little crunch, and the insides are soft, creamy, and minty.
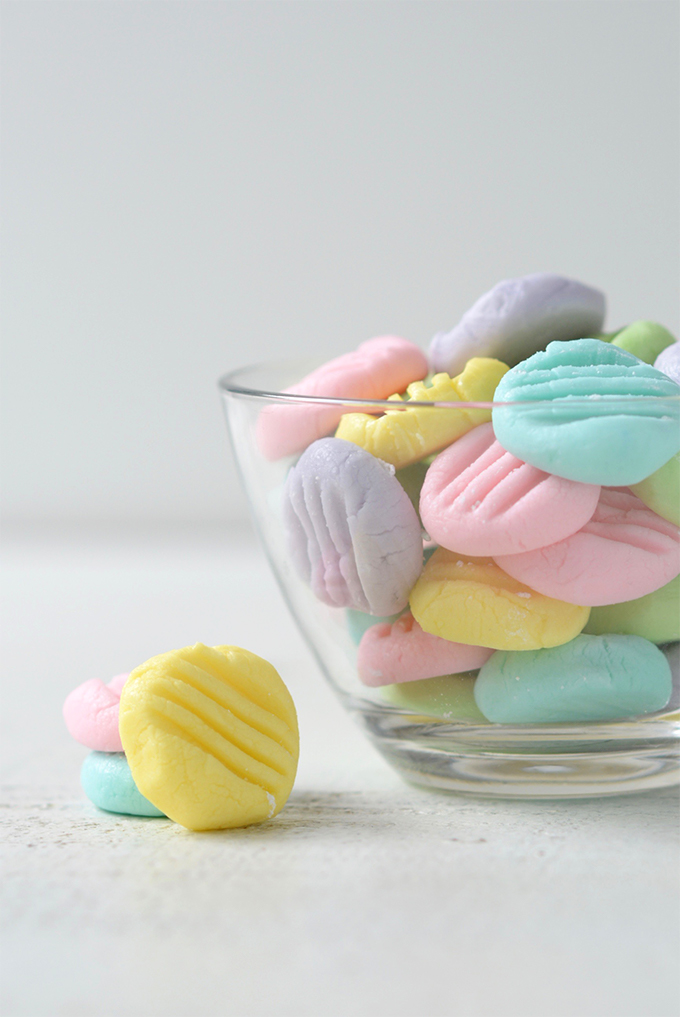
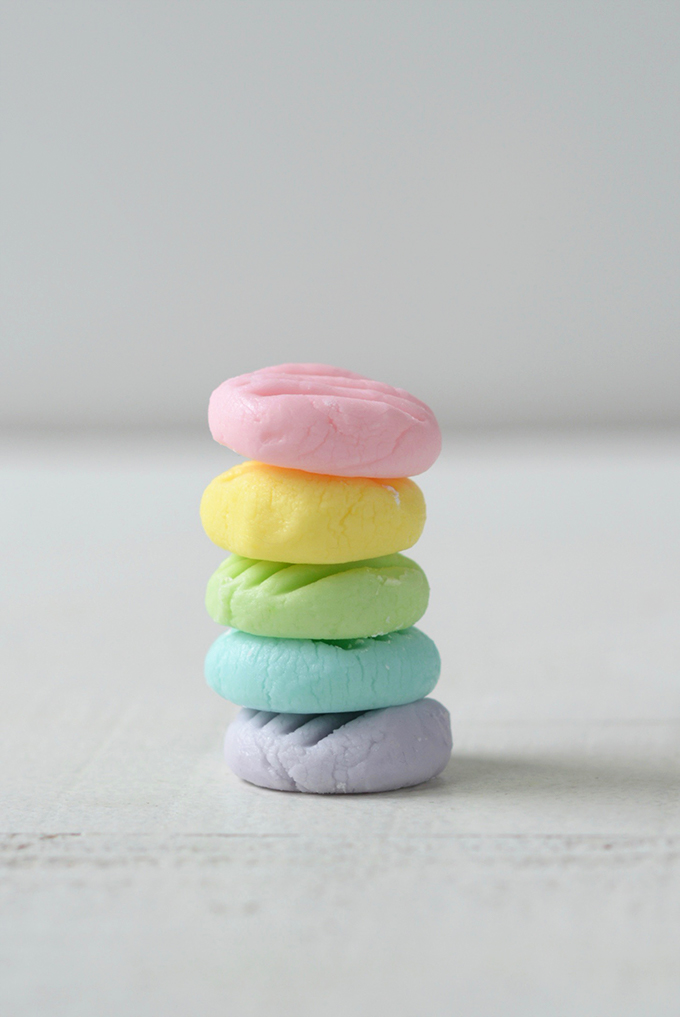
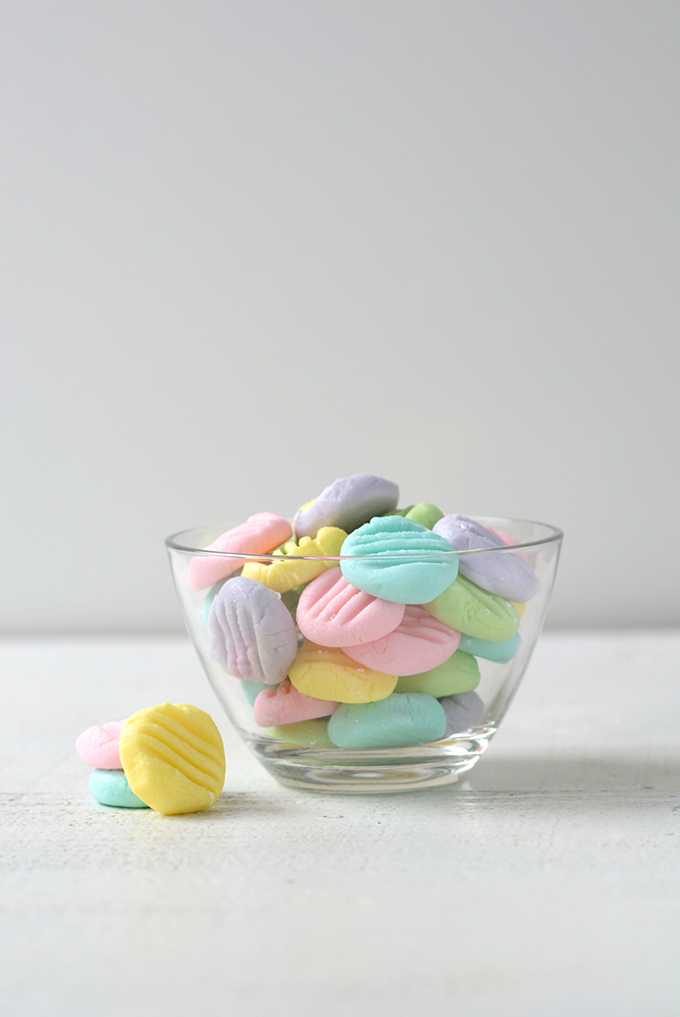
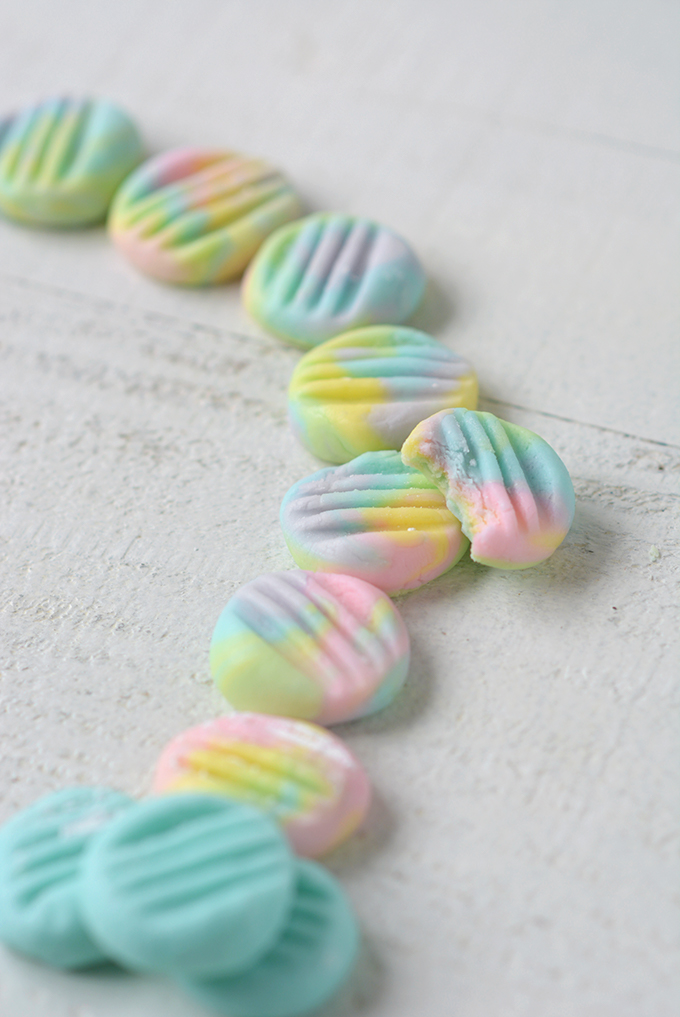
I’m not sure if the recipe my friend’s mom used was exactly the same as this one, but this recipe tastes just like the original to me. The ingredients are simple; just cream cheese, butter, confectioner’s sugar, and flavoring. Because this is such a simple recipe, the whole process can be done from start to finish with kids. Otherwise, with small children, they can have fun just forming shapes with their edible “Play-Doh.” When I was a little girl, amongst other unidentifiable shapes, my friend and I shaped our mints into pretty little coins like the ones pictured here. It’s such a sunny memory of making our little treats and sitting at her mom’s kitchen table while we giggled away!
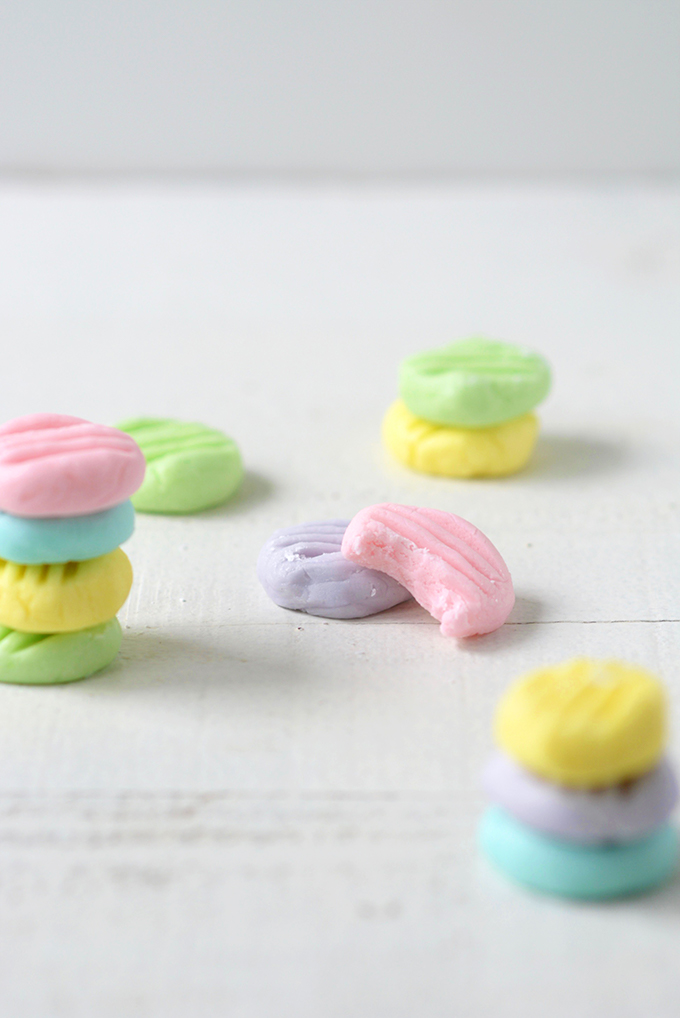
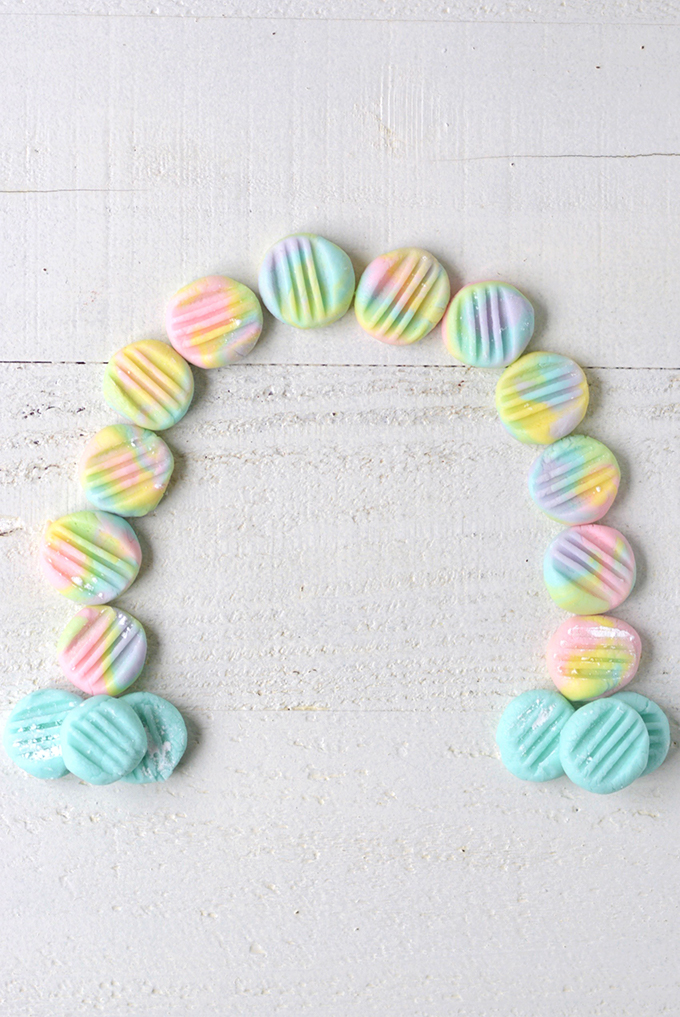
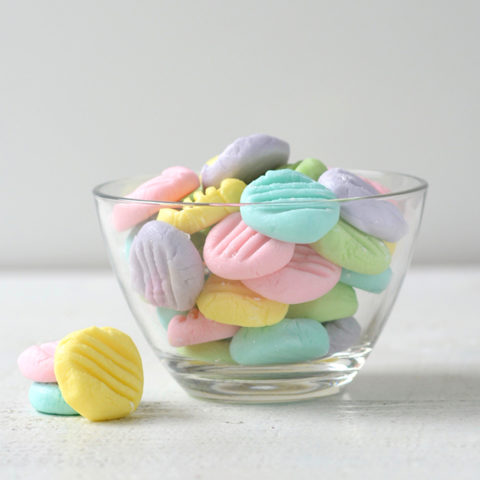
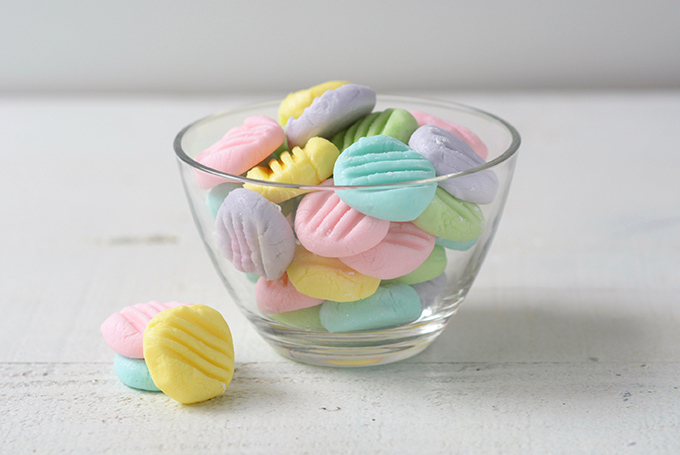
This recipe isn’t just made for kids. The lovely pastel colors are perfect for spring, Easter, showers, or a wedding. The colors can be adjusted for your own special occasion. For the fun of it, the colors can even be mixed to make a pretty little rainbow of mints! 🌈
Old Fashioned Cream Cheese Mints (Wedding Mints)
Old Fashioned Cream Cheese Mints (Wedding Mints) - Packed full of minty flavor, these happy little pastel-colored morsels are as simple and easy to make as they are to eat!
Ingredients
- 1 8 oz package full fat cream cheese
- 4 Tbsp butter, softened
- 8 1/2 -9 1/2 C confectioner’s (powdered) sugar, sifted
- 1 1/2 tsp peppermint extract
- 1 tsp vanilla extract
- 1/2 C confectioner’s (powdered) sugar for rolling mints
- gel food coloring (optional)
Instructions
- Soften the cream cheese and butter by setting them out one hour before making your mints.
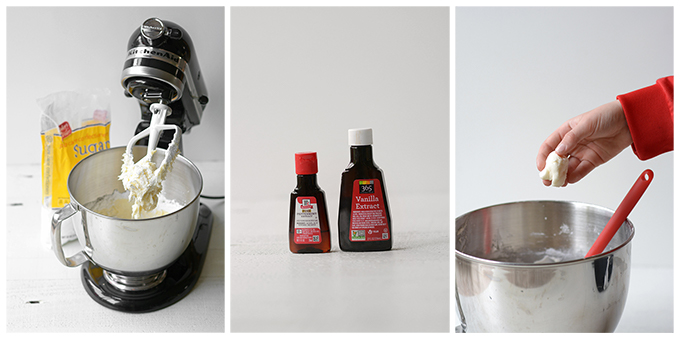
- Cream together the cream cheese and butter with an electric mixer until you have a smooth and creamy mixture.
- Add 1 C of confectioner's sugar to the bowl and mix until smooth.
- Add the peppermint and vanilla extracts, and mix until incorporated.
- Next, intermittently add the remaining confectioner's sugar, mixing in between. Do this until you achieve a texture that is similar to that of Play-Doh, and no longer sticks to your fingers. If you don't have a standing mixer, you'll have to mix some of the sugar in by hand as the dough gets thicker until you reach the right texture.
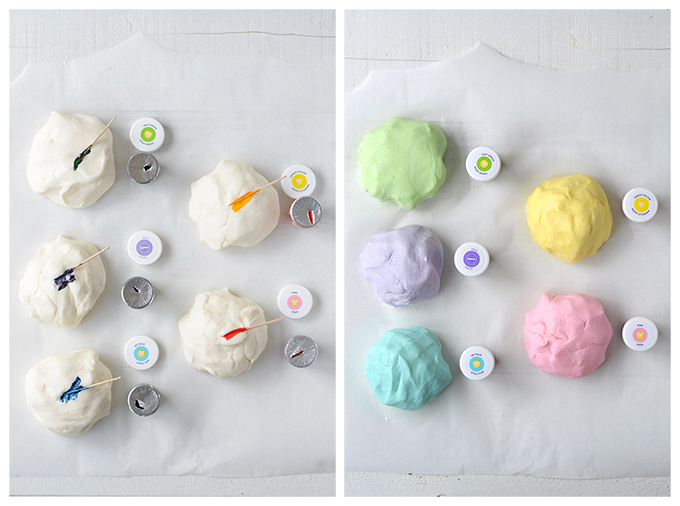
- Separate the dough into separate balls, one for each gel food coloring you will be using.
- Add a small amount of gel food coloring to each ball, and then knead the dough together until the coloring is evenly combined.
- Wrap each ball in plastic wrap and refrigerate for one hour.
- After an hour has passed, line a baking sheet with parchment to prevent the mints from sticking.
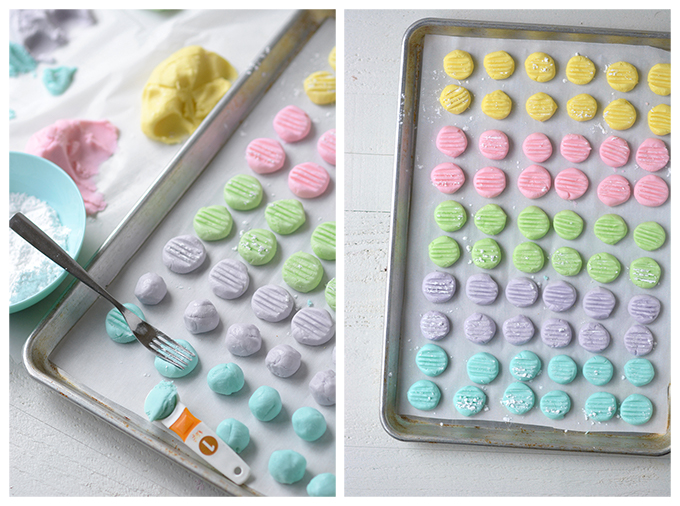
- Measure out 1 tsp of dough for each mint and roll them into even balls. Evenly space them across the baking sheet.
- Next, dip a fork into confectioner's sugar and gently press the prongs into a mint to flatten it out and to create a line pattern. Continue to do this with each mint, not forgetting to dip the fork into confectioner's sugar to prevent sticking.
- Once all of the mints are formed, allow them to sit out and harden for 4 hours, then flip the mints over and allow them to harden for an additional 2 hours. When they are done, they will be firm on the outside, and they will be soft and creamy on the inside.
- Store in the refrigerator in an air tight container for up to 2 weeks, separating each layer with wax paper or parchment to prevent sticking. Note that they are safe to leave out at room temperature for a day for a party.










[…] Old Fashioned Cream Cheese Mints (Wedding Mints) – https://simpleseasonal.com/dessert/old-fashioned-cream-cheese-mints-wedding-mints […]